Step 2: Start the design process
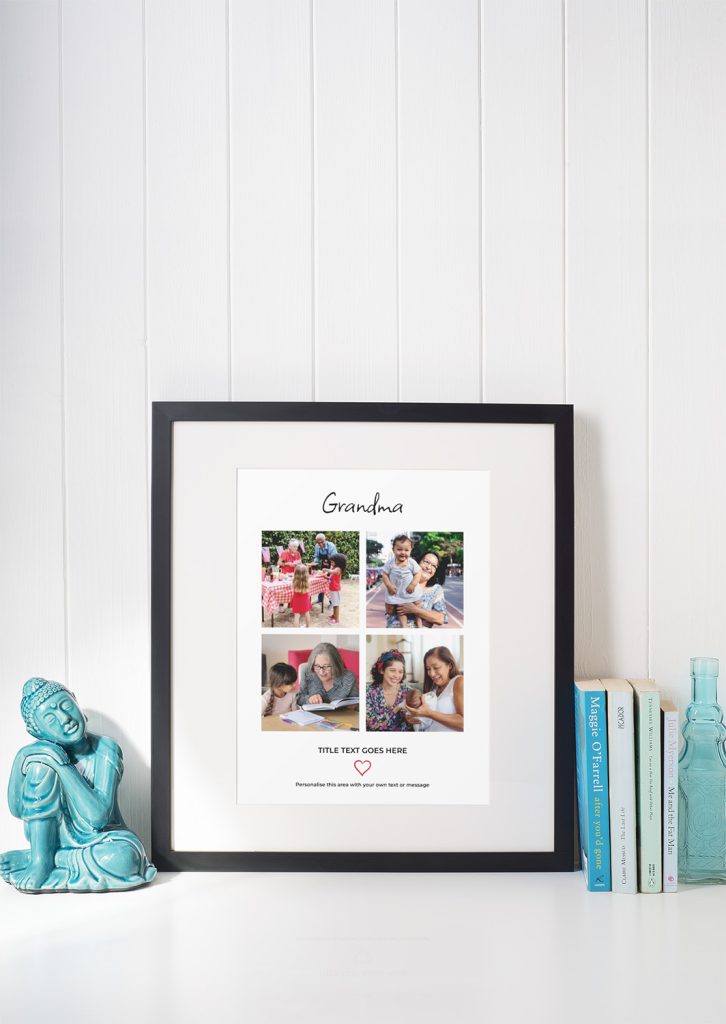
Once you’ve chosen your preferred photo frame design, click on the “Customize this design” button. This will take you to our user-friendly design platform.
Step 3: Upload your Photos
The heart of personalised photo frames lies in the pictures you choose to display. You can upload your treasured photos directly onto the frame, transforming it into a unique piece of art.
If your photos are on your computer, click on computer and navigate to the photos you want to upload.
If you’re like most of us and all your photos are still on your phone, we’ve got you covered – click on Upload, then scan the QR code with your phone. Select your photos and click add.
Our design editor will upload them from your phone straight into the editor.
Step 4: Arrange your photos and personalise with text
In addition to photos, you can add personalised text to the frame. Whether it’s a meaningful quote, the date of the event, or a personal message, this step allows you to create a frame that tells your story.
Step 5: Preview your Photo Frame
Step 6: Place your order
Step 7: Production and Delivery
Personalised photo frames are more than just a way to showcase your photos; they’re a way to bring those memories to life. Whether you’re creating one for your own home or as a meaningful gift, the ability to customise photos and add personalised text makes it a cherished keepsake.
Your personalised photo frame is a testament to your life’s special moments and a reflection of your style. We hope this step-by-step guide helps you create the perfect personalised photo frame to display and cherish your memories.
If you have any specific questions or need further assistance, please feel free to reach out.
Email us at hello@paperjournals.co.uk


